3 Strategies for Binary Options

Learn 3 simple binary options strategies using Parabolic SAR, Supertrend + RSI and Bollinger Bands. A practical guide for beginners.
You know how to turn on the RSI. You know what the Supertrend is. But when it's time to trade… you just stare at the chart, unsure when to press the button.
The problem isn't a lack of knowledge — it's the lack of a clear rule. "When X happens, I do Y." Without it, every candle becomes a doubt and every trade becomes a guess.
In this article, you'll learn 3 strategies with objective entry rules, using indicators that are already on the platform with their default settings. They aren't magic formulas — they're starting points. The secret is to pick one and stick with it for at least 30 days. Anyone who jumps from strategy to strategy every day commits Mistake #5 and never discovers what really works.
If you're not yet familiar with the platform's indicators, read the tutorial on how to use indicators on the chart first.
Before you begin
To make the most of this article, you need 3 things:
- To know how to open a trade on the platform
- To be familiar with the available indicators and know how to enable them
- To be willing to test on the practice account first — if you don't yet know the difference, read about demo account vs real account
And if you still can't read the chart's candles, start with how to read a candlestick chart — it's the foundation of everything.
Technical note: all the strategies use a 5-minute chart and a 5-minute expiration. The indicators stay on their default settings — don't change anything.
Strategy 1 — Parabolic SAR: the simplest of all
Indicators: Parabolic SAR (1 indicator) Chart: 5 minutes | Expiration: 5 minutes
The Parabolic SAR draws dots on the chart. Dots below the candles = uptrend. Dots above the candles = downtrend. It's that simple.
When to BUY: the dots switch from above to below the candles. The trend has just turned upward. Open a buy trade on the next candle.
When to SELL: the dots switch from below to above the candles. The trend has turned downward. Open a sell trade on the next candle.
Why it works: zero interpretation. The signal is binary — the dots are on one side or the other. For someone just starting out, fewer decisions = fewer mistakes. You don't need to calculate anything, you don't need to compare panels. Just look and act.
Watch out: when the market is ranging sideways (no clear trend), the dots switch sides too quickly. If they flip 3 times within a few candles, stop. That market isn't for the SAR — it's for Strategy 3.
Strategy 2 — Supertrend + RSI: following the trend
Indicators: Supertrend + RSI (2 indicators) Chart: 5 minutes | Expiration: 5 minutes
The logic is simple: the Supertrend confirms the trend direction. The RSI confirms the entry timing. Together, they filter out false signals.
When to BUY: the Supertrend is green (uptrend) AND the RSI exits the zone below 30 (oversold). What happened? The price fell within an uptrend — it's a temporary pullback. When the RSI rises above 30, the pullback is over. Time to enter in line with the trend.
When to SELL: the Supertrend is red (downtrend) AND the RSI exits the zone above 70 (overbought). The price rose within a downtrend — it's a correction. When the RSI drops below 70, the correction is over. Time to sell.
Why it works: you trade with the trend (higher probability) and enter during a correction (better price). Two filters mean fewer signals, but better ones.
Watch out: if the Supertrend is switching colors every few candles — green, red, green, red — the market is undecided. Wait for a clear trend to establish itself, or switch to Strategy 3.
If you read the article on demo account vs real account, this is exactly the strategy from item 5 of the checklist: "I trade with the Supertrend with RSI confirmation below 30 or above 70."
Strategy 3 — Bollinger Bands + Stochastic: touch and reverse
Indicators: Bollinger Bands + Stochastic (2 indicators) Chart: 5 minutes | Expiration: 5 or 10 minutes
When the price touches the edge of the Bollinger Bands "channel," it tends to return to the middle. The Stochastic confirms that the move really has gone too far.
When to BUY: the price touches or breaks below the lower band of the Bollinger Bands AND the Stochastic is below 20 (oversold). The price has stretched too far down — the probability of a return to the center is high.
When to SELL: the price touches or breaks above the upper band AND the Stochastic is above 80 (overbought). The price has stretched too far up — it tends to come back.
About redundancy: the indicators tutorial says that the RSI and the Stochastic measure the same thing (momentum). True. But here the Stochastic is paired with Bollinger Bands, which measure volatility — they're different categories. No redundancy.
Why it works: markets spend more time ranging sideways than trending. This strategy captures exactly those "stretched too far, it'll come back" moments. It's the perfect complement to Strategies 1 and 2, which work better in a trend.
Watch out: if the price touches the same band 3 times in a row without returning to the center, it's not a range — it's a strong trend. Stop and consider Strategy 2. The expiration can be 5 or 10 minutes — pick one and stick with it.
Which strategy should you use?
| Situation | Strategy |
|---|---|
| Never traded with indicators | 1 — Parabolic SAR (1 indicator, zero doubt) |
| Want more confirmation and filters | 2 — Supertrend + RSI |
| Market is ranging, no trend | 3 — Bollinger Bands + Stochastic |
| Don't know whether the market is trending | Start with 1 and observe |
When in doubt, start with 1. Test it for a week on the practice account. If it works, you have your strategy. If not, try 2. The important thing is not to switch every day — stick with each one for at least 30 days before deciding.
Rules that apply to any strategy
- Test on the practice account for at least 2 weeks. No exceptions. No strategy deserves real money before that.
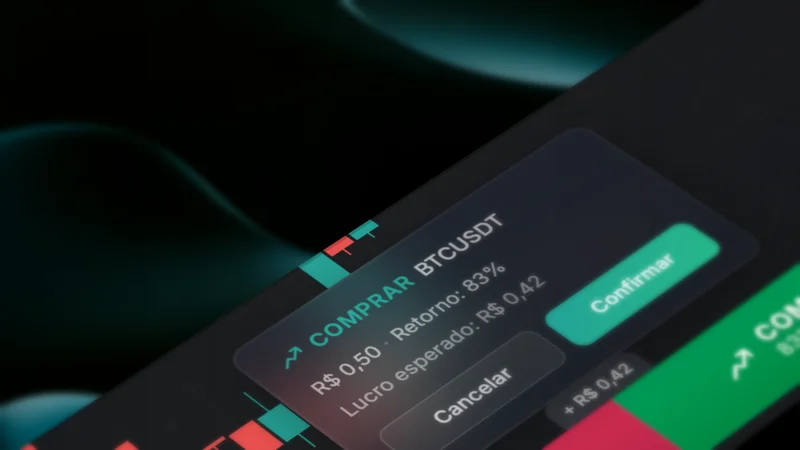
- Risk no more than 1-3% of your capital per trade. With R$ 60 in your account, that means R$ 0.50 to R$ 1.80 per trade. See how to calculate the exact amount in the definitive bankroll management guide.
- Don't change the indicators' default parameters. The defaults are the most tested. Tinkering with the numbers without understanding what they do only adds a variable you don't control.
- Record every trade: asset, time, strategy, result. Without data, you're guessing. With data, you're improving.
- Set a daily loss limit? Respect it. 3 losses in a row? Close the platform. The market opens again tomorrow.
These strategies work both in the regular market and on OTC assets — available 24/7.
To get the most out of any strategy, learn to read the chart's context — check out our guide to support and resistance in practice.
Pick a strategy, enable the indicators, and start on the practice account. If you need help with the indicators, re-read the tutorial on how to use indicators on the chart. If you want to understand the market better, start with what binary options are.
Visit futurabroker.com and start now.